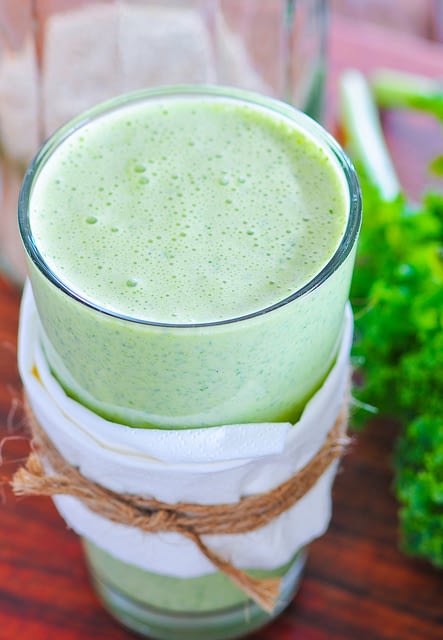
Experts agree that Kale is incredible for improving health and I can’t think of a better way to eat Kale than in a Kale Smoothie!
Kale smoothies are super quick and easy to make AND they taste great!
But the problem is that Kale is a very tough plant.
So when you try to make a Kale smoothie using an ordinary blender, you usually end up with a “chunky” not a “smoothie”.
That’s why most Kale Smoothie recipes and videos tell you to use a top of the line blender like a Vitamix or a Blendtec.
But what if you’re not in a position to buy one of those high-end blenders right now? Does that mean you can’t benefit from Kale Smoothies?
Never fear my fellow Renegades because I’ve done a bunch of experimentation and I’ve finally come up with a simple system that will have you blending up Kale into a silky smoothie using an ordinary (low cost) blender!
Important Note About Blenders: I have used several different types of blenders over the years and there is definitely a difference between brands. The brand that I have found to work the best is made by Black and Decker. They also offer a 2 year warranty which I had to use once and to my surprise Black and Decker made it very easy for me to get a replacement blender. I am currently using this blender which is on sale right now at Amazon for just under $30.
OK are you ready to learn how to make a reeeeeally smooth Kale Smothie with an ordinary blender?
Alright then let’s do this!
Table of Contents
Step 1: Buy the softest type of Kale
Green Curly Kale is the softest type of Kale. So use Green Curly Kale if it is available.
If Green Curly Kale is not available, the next best option is to go with Red Kale.
And if Green Kale AND Red Kale are NOT available then get whatever type of Kale is available. It will just take a bit longer to blend up than Green or Red Kale.
Note: Dinosaur Kale also known as Lacinato Kale is the toughest type of Kale. With a name like “Dinosaur” Kale it better be the toughest right?! This type of Kale takes a bit longer to blend until smooth but don’t let that stop you from making Kale Smoothies with it! The benefits will far outweigh the little bit of extra time it takes to blend it until it’s smooth.
Step 2: Remove the stems
The stems are too course and are less nutritious than the leaves, so don’t bother blending the stems. We just want the leaves in our smoothies.
You can compost the stems, use them in stews or use them as drum sticks 🙂
Step 3: Freeze in plastic storage container
After you remove the leaves from the stalks, put the leaves into a plastic storage container or some other type of freezer safe container that is big enough to hold all of the leaves.
I use a container like this one and it works great. I can fit all of the leaves from a full head of Kale in this type of storage container.
Put all the leaves in the container and then put the container in the freezer!
Step 4: Cut out frozen Kale
When you are ready to make a Kale smoothie, just take out your container of kale from the freezer and cut out a chunk of Kale with a spoon or fork.
Freezing the Kale actually helps it to blend up much easier and it’s also a great way to preserve the Kale. Kale goes bad very quickly in the refrigerator.
So save money, preserve nutrients and make it easier to blend by freezing your Kale.
Step 5: Put kale in blender with Liquid First
Now this step is important. Put the frozen Kale into the blender and add your liquid (water, coconut milk, almond milk etc.) Add less liquid than you think you need and then turn your blender on low. This will keep the Kale from splattering all over the blender.
Once the Kale begins to break down and everything is mixed well you can turn up the blender to the highest speed.
**Important** If you start off with the highest speed the Kale is going to splatter all over your blender and you will waste a bunch of Kale. Don’t waste! Start on the slowest speed and then go to the highest speed once the Kale is blended up pretty well.
Let the Kale blend until the pieces of Kale become really small or disappear completely. That means it’s completely pulverized so your smoothie will actually be smooth!
Step 6: Add other ingredients
When you see that the Kale is nice and smooth, now add the other ingredients and blend until smooth.
Although this process may seem like a lot, it’s really quick and simple because you only have to do steps 1-5 after you buy a new head of Kale.
Once you’ve got your Kale in the freezer container, the only thing you have to do when you want to make your Kale smoothies is take out the container from the freezer and remove a chunk of Kale. This should only take about 30 seconds.
Conclusion
So there you have it! A quick and simple way to make a reeeeeally smooth Kale smoothie with an ordinary blender!
Thanks for the tip! I’m hoping this works, because i’m getting quite frustrated.Particularly, because I have a tiny blender, and can only do chunks of ingredients at a time.
Hi Diana! Yes, blending up each ingredient at a time is a great way to make sure each ingredient gets broken down enough so it’s smooth. If you overload the blender, the smoothie will end of chunky.